Here I have a print ready file setup - Now if you are not sure if your file is setup properly, please check our our other videos on how to set up a file in Photoshop.

First we will Flatten our document. Go to the Layer menu and select Flatten Image
[alt + shift + ctrl + F (PC) --OR-- ctrl + shift + E (mac)]. This combines all of your layers into one layer.

Then we are going to save our print ready file. Go to the File menu and select Save As
[shift + ctrl + S (PC) --OR-- shift + command + S (Mac)].
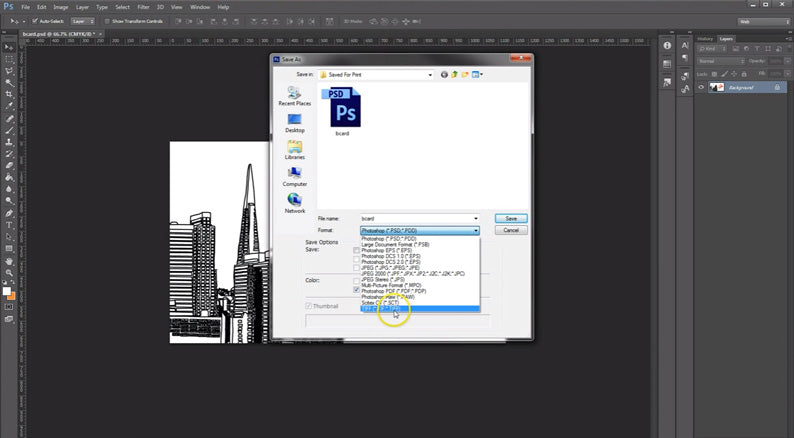
Then use the drop down Format menu to select .TIFF. TIFF is your best option since it is it uses Lossless Compression, where no data is lost when the file is saved.

Then you are going to want to name your document and click the Save button.

Next the TIFF options window will appear. Select Compression -> None
Leave the rest as defaults. Now you can click OK and there you go, now we have a print ready TIFF saved out of Photoshop. We hope this video has been helpful.